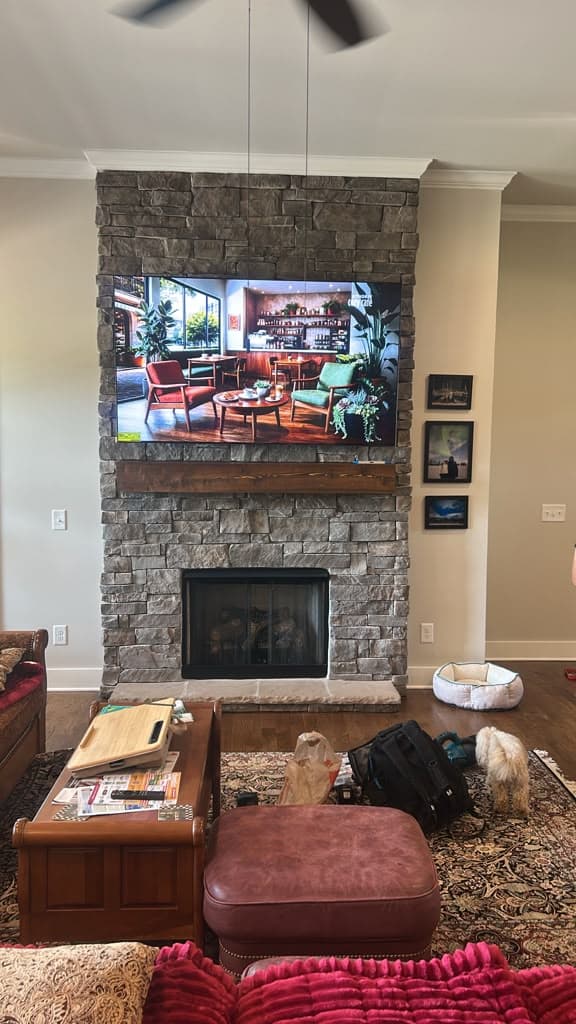
The TCL QM6K is an unusual product in one specific way: TCL sells it at 65 inches and 85 inches, and nothing in between.
That means two people can own a "QM6K", book the same job, and need completely different appointments. The 65-inch is a routine afternoon. The 85-inch is a two-technician lift onto a wall we want to inspect first.
This guide is about the 65-inch. If you have the big one, read how to mount an 85-inch TCL QM5K instead — everything in it applies to the 85-inch QM6K as well.
The QM Number Does Not Mean What You Think
Before the practical steps, a small piece of housekeeping that saves confusion when you call us.
TCL's QM range reads like a ladder — QM5K, QM6K, QM7K, QM9K — and people reasonably assume a higher number means a bigger or harder installation. It does not. The series number tracks picture quality and features. What decides the install is which size TCL chose to sell that series in.
The QM5K, the "lowest" number, is sold at 85 inches and is one of the heaviest sets we handle. The QM6K comes at 65 and 85. The QM7K is 75-inch. The QM9K, the flagship, is 85.
So when you book, give us the size. That is the number that changes what we bring.
Step 1: Studs, Found and Confirmed
Run a stud finder across the area and mark every hit, then verify each mark before trusting it — a second pass from the opposite direction, or a magnet picking up the line of drywall screws.
The target is the bracket centred across two studs. At 65 inches on standard 16-inch framing that is usually achievable from wherever you want the TV, which is the quiet advantage of this size.
Drywall anchors are not a substitute. A 65-inch panel typically runs in the 40 to 60 lb range, and that load belongs on timber.
Step 2: Understand the Depth Before You Buy a Bracket
Here is the QM-specific thing worth knowing.
The QM series uses QD-Mini LED backlighting, and that backlight needs physical room. The chassis is thicker than the thin edge-lit LED television it is probably replacing, and customers notice. It is not a defect and no installer can make it go away — it is simply what the technology requires.
What you control is the bracket:
- A slim fixed mount keeps the QM6K as tight to the wall as the chassis permits
- A tilt mount costs a little depth and gives you a few degrees of downward angle
- A full-motion arm costs the most depth and lets you swing the screen toward a kitchen or around a corner
At 65 inches a full-motion arm is genuinely practical — the panel is light enough that the weight penalty which makes arms awkward on an 85-inch set is not a factor. But you cannot have flush and full-motion at once. Decide which matters more before the holes are drilled.
We do not sell mounts. Tell us the model and the wall and we will tell you which class to buy.
Step 3: Set the Height From the Sofa
Centre of the screen at seated eye level, generally 42 to 48 inches off the floor.
A 65-inch screen is short enough that this works in nearly any room with an 8-foot ceiling. Place the furniture first, sit down, have someone hold a mark on the wall, and look at it properly. Ten minutes there prevents the most common complaint we hear about, which is not a crooked TV — it is a TV mounted three inches too high, permanently.
Step 4: Fit the Arms and Lift With Two People
Attach the bracket arms to the back of the panel and confirm two things: that they sit flat against the chassis, and that their spacing lands on the studs you marked.
Then lift with two people, even at this size. One takes the weight, the other guides the hooks onto the rail and confirms they have seated. The single riskiest moment in any TV install is one person holding the full weight at head height while feeling blindly for a bracket, and it is entirely avoidable.
Step 5: Soundbar, Cables, Test
Most QM6K installs we do come with a soundbar underneath and a console beside it. Do them in the same visit. The cables only get routed once that way, and the result is dramatically tidier than adding a soundbar three weeks later.
Plan the cable route before the bracket is fixed if you want in-wall concealment, since the entry and exit points depend on where the TV ends up. Concealment starts from $60 per TV; a paintable raceway is the fallback where the wall will not open.
Then test it properly — power up, cycle every input, confirm the soundbar and console genuinely pass through the set.
What It Costs
A 65-inch QM6K falls into our over-55-inch band, so mounting starts from $140 per TV. Two sets over 55 inches at the same address in the same visit start from $260.
These are starting prices. The difficulty of the installation, the wall type and the mount being installed decide the final figure; pull-down mantel mounts are quoted separately. One of our sales representatives confirms your exact price before any work begins, and prices do not include the bracket itself.
Let Us Handle It
We mount TCL panels across Nashville, Franklin, Spring Hill, Nolensville, Smyrna and the rest of Middle Tennessee, with the finished gap to the wall checked while the TV is hanging and a 30-day workmanship warranty behind the job.
- TCL TV mounting in Nashville — the whole QM line plus the Q6LR and F7D
- 65-inch TV mounting — every 65-inch model we install
- Book an installation or call (615) 669-0251
PrimeTvNashville is an independent TV mounting and installation company. We are not affiliated with, authorized by or endorsed by TCL. Brand and model names are used only to describe the equipment we install.