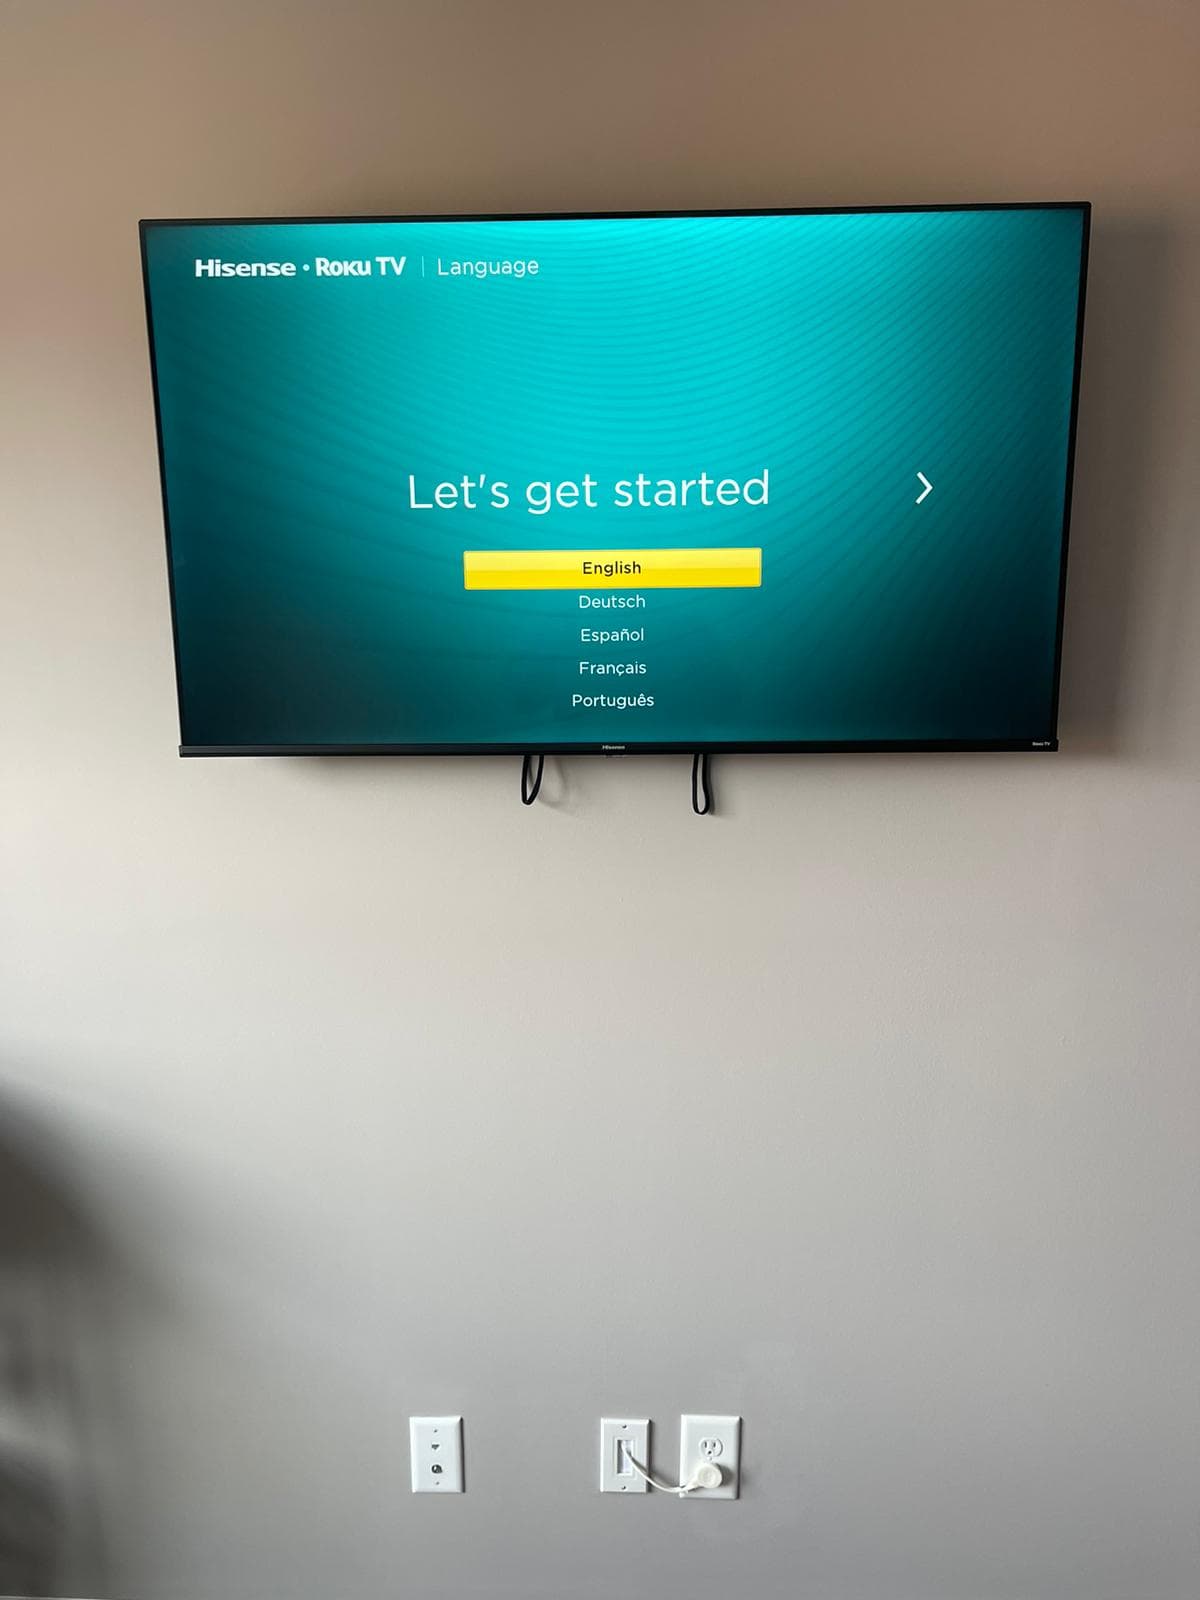
The TCL QM7K is sold at one size: 75 inches. No 55-inch version for the bedroom, no 85-inch for the basement. One size, and it happens to be the size where a television install stops being a task and becomes a question about your house.
The practical steps below are what we actually do. But the decision that most affects whether you like the result has nothing to do with drilling, and it has to be made before anyone touches the wall.
The Decision That Matters Most: Flush or Full-Motion
The QM7K uses QD-Mini LED backlighting. That backlight needs physical depth, so the chassis is thicker than the thin edge-lit panel it is probably replacing. This is the single most common thing customers ask us about on TCL sets, usually a week after the TV went up.
You cannot change the chassis. You can change what you attach it to, and the choice is a genuine trade-off:
A slim fixed mount keeps the QM7K as close to the wall as the set allows. The screen looks built in. You give up all adjustment — once it is up, it points where it points.
A tilt mount costs you a small amount of depth and buys a few degrees of downward angle. Useful if the TV has to sit higher than ideal, which on a 75-inch panel it sometimes does.
A full-motion arm costs the most depth of all. In exchange the screen swings out and rotates, which is transformative if you have an open-plan kitchen or a corner seating position and genuinely useless if you do not.
You cannot have flush and full-motion. Pick the one that matches how you actually live in the room, tell us before we drill, and you will not think about it again. Get it wrong and you will notice every day.
We do not sell mounts, so we have nothing to gain either way — send us the model and we will tell you which class fits.
Step 1: Identify the Wall
A 75-inch panel typically runs in the 60 to 85 lb range, and where that load goes depends on what is behind the drywall.
Timber framing on 16-inch centres is the common case in Nashville and the easy one. Older homes may have plaster over lath; condo conversions frequently use metal stud partitions; and chimney breasts are masonry. All of these will hold a QM7K. All of them need different hardware, and the masonry and metal cases need a slower approach.
Our surcharge for concrete, tile, stone or metal starts at $25. Drywall carries no extra charge.
Step 2: Find Two Studs, Confirm Three If You Can
Mark every stud finder hit across the target area, then verify each one — second pass from the opposite direction, or a magnet tracking the drywall screws.
Centre the bracket across two studs minimum. A 75-inch mount on 16-inch framing can often reach a third, and a third is always worth having on a panel this size.
Drywall anchors are not an option here. Not toggle bolts, not anything marketed as heavy duty. The load belongs on timber.
Step 3: Height, Decided Sitting Down
Start from centre-of-screen at seated eye level, roughly 42 to 48 inches off the floor.
At 75 inches, check that against the room instead of just measuring it. The screen is tall enough that a textbook centre height can push the bottom edge down to where a soundbar or console gets in the way. Furniture in place, someone on the sofa, mark the wall from there.
Step 4: Two Technicians, Always
A 75-inch QM7K is wider than one person's arm span. The risky moment is not carrying it — it is standing at head height holding the full weight with both arms while trying to feel for the bracket hooks.
One person takes the weight, the other guides the panel onto the rail and confirms it has seated. We send two on every 75-inch job and there is no cheaper one-person version.
Step 5: Check the Gap With the TV Hanging
This is the step specific to a Mini-LED set and the one most installers skip.
Once the TV is on the bracket, look at the finished distance to the wall before you call the job done. That is the moment when changing the bracket is still a twenty-minute decision rather than a regret. If it is sitting further out than you expected and you wanted flush, now is when to say so.
Step 6: Soundbar, Cables, Test
Most QM7K installs include a soundbar. Do it in the same visit — the cables get routed once, and the result is far tidier than bolting one on later.
If you want cables inside the wall, that has to be planned before the bracket is fixed. Concealment starts from $60 per TV; a paintable surface raceway is the fallback where the wall cannot be opened.
Then test everything: power on, cycle every input, confirm the soundbar and console actually pass through the set.
What It Costs
Mounting starts from $140 per TV for anything over 55 inches, which includes the QM7K. Two sets over 55 inches at the same address in one visit start from $260.
These are starting prices. The difficulty, the wall type and the bracket decide the final figure; mantel mounts are quoted separately. A sales representative confirms your exact price before work begins, and prices do not include the mount.
Or Book Us
We mount TCL across Nashville, Brentwood, Murfreesboro, Mount Juliet, Gallatin and the rest of Middle Tennessee. Two technicians, studs confirmed, gap checked while the panel is hanging, 30-day workmanship warranty.
- TCL TV mounting in Nashville — the QM line, the Q6LR and the F7D
- 75-inch TV mounting — what changes at this size across every brand
- Book an installation or call (615) 669-0251
PrimeTvNashville is an independent TV mounting and installation company. We are not affiliated with, authorized by or endorsed by TCL. Brand and model names are used only to describe the equipment we install.