Most of our guides are about managing risk — heavy panels, questionable walls, televisions that flex if you look at them wrongly.
This one is different. The 65-inch Hisense U6 is, from an installer's point of view, an easy television. It is light for its size, conventional in construction, and it goes onto a standard bracket without any surprises. So this guide includes something the others do not: a straight answer about when you can reasonably do this yourself.
Is This a DIY Job?
Honestly? For a lot of people, yes.
A 65-inch panel typically runs in the 40 to 60 lb range. That is within what one reasonably capable adult can control, and a 65-inch bracket is usually wide enough to span two studs on standard 16-inch framing, which means the mount can go more or less where you want it rather than being dragged sideways to chase timber.
You should call someone if any of the following is true:
- The wall is brick, stone, concrete, tile, or metal stud
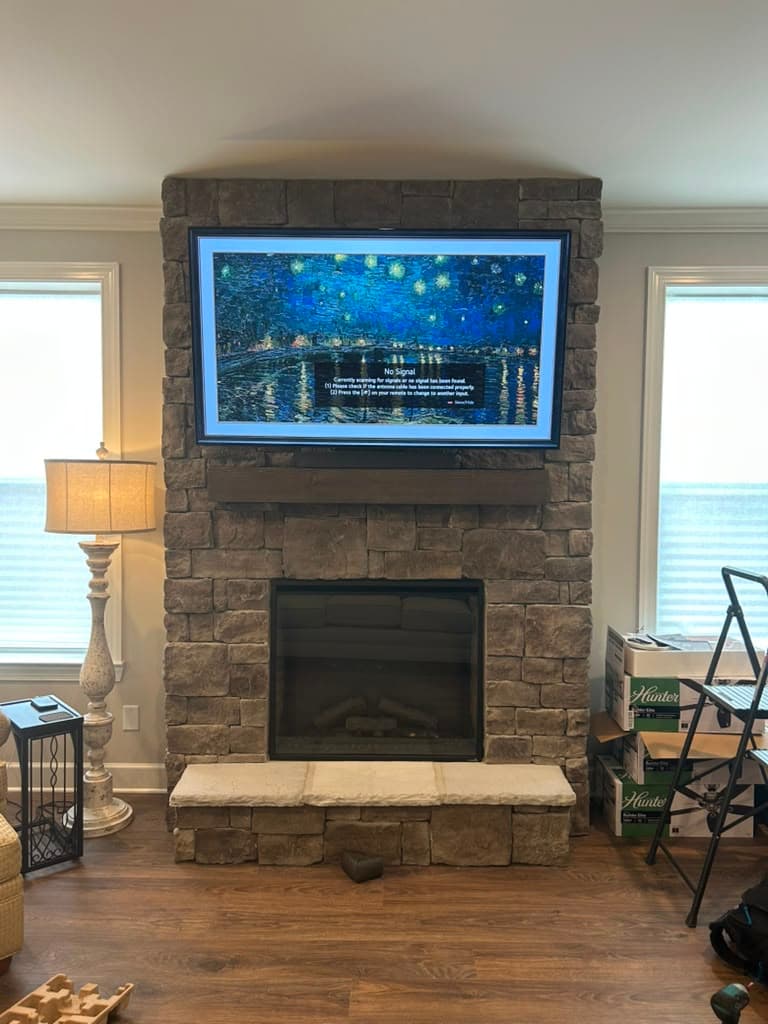
- The TV is going above a fireplace
- You cannot confidently find and confirm two studs
- You do not have a second person available
- You want the cables hidden inside the wall
Otherwise, with a helper and an afternoon, the U6 is a fair DIY project. We would rather tell you that than take money for something straightforward. We will still happily do it — plenty of people simply do not want to — but you should know where you stand.
Step 1: Find Two Studs and Confirm Them
Run a stud finder across the area and mark every hit. Then confirm: a second pass from the opposite direction, or a magnet locating the drywall screws in the same vertical line.
The goal is the bracket centred across two studs. This is where 65 inches quietly beats every bigger size — the bracket is wide enough to reach two studs from most starting positions, so you usually get the TV exactly where you wanted it instead of four inches to the left of where you wanted it.
Never hang the TV on drywall anchors alone. It does not matter what the packaging claims.
Step 2: Work Out the Height Before You Drill
Centre of the screen at seated eye level, which for most sofas lands between 42 and 48 inches off the floor.
A 65-inch screen is short enough that this genuinely works in almost any room with an 8-foot ceiling. That is the other quiet advantage of this size, and it is why the 65-inch U6 so often ends up exactly where the owner pictured it.
The mistake to avoid is measuring against an empty wall before the furniture is placed. Put the sofa where it is going to live, sit on it, and mark from there. Our guide on the best height to mount a 65-inch TV walks through the arithmetic if you want to check it.
Step 3: Pick the Bracket
The U6 is light enough that all three bracket types are genuinely practical, which is not true further up the size range.
- Fixed — sits closest to the wall, cheapest, no adjustment once it is up
- Tilt — a few degrees of downward angle, useful if the TV has to sit higher than ideal
- Full-motion — swings out and rotates, and at 65 inches the weight penalty that makes this awkward on an 85-inch panel simply is not there
If your room has a corner viewing position or an adjacent kitchen, a full-motion arm on a 65-inch U6 is one of the better upgrades available. It is the size where that option is actually comfortable.
We do not sell mounts. Send us the model and the wall type and we will tell you which class to buy before you order.
Step 4: Fit the Arms, Then Hang It
Attach the bracket arms to the back of the panel and check they sit flat without fouling anything. Then check that the arm spacing lands on the studs you marked — a bracket that fits the TV but cannot reach your timber is a problem best discovered on the floor.
Even on an easy set, use two people for the lift. One takes the weight, one guides the hooks onto the rail and confirms they have seated. It takes thirty seconds and removes the only genuinely risky moment in the job.
Step 5: Cables and Testing
If you want the cables concealed inside the wall, that has to be planned before the bracket is fixed, because the entry and exit points depend on where the TV lands. Concealment starts from $60 per TV with us. A paintable surface raceway is the fallback where in-wall routing is not possible.
Then power it on and cycle every input. Confirm the soundbar and any console actually pass through the set rather than assuming.
What It Costs If You Do Call Us
A 65-inch TV falls into our over-55-inch band, so mounting starts from $140 per TV. Two sets over 55 inches at the same address in one visit start from $260.
These are starting prices. The difficulty, the wall type and the mount being installed decide the final number, mantel mounts are priced separately, and a sales representative confirms your exact price before any work begins. Prices do not include the bracket.
Where We Work
We mount Hisense sets across Nashville, Brentwood, Franklin, Murfreesboro, Hendersonville and the rest of Middle Tennessee, with a 30-day workmanship warranty behind the job.
- Hisense TV mounting in Nashville — the U7, U65 Pro and E-series too
- 65-inch TV mounting — every 65-inch model we install
- Book an installation or call (615) 669-0251
PrimeTvNashville is an independent TV mounting and installation company. We are not affiliated with, authorized by or endorsed by Hisense. Brand and model names are used only to describe the equipment we install.